Base with coin belt, stampings and Turkish buttons
I love costumes. If you are reading this you probably do too. But I am also very busy and don’t want to have to choose between looking glam and paying the mortgage. If you feel the same way, this post is for you. If you don’t get too crazy with the embellishments this project can be completed within a day, and cost as little as $15. I have adapted this technique from several books and blogs that I have read, and I have come up with my own style.
What you will need:
- A pattern
- about a half-yard of buckram (depending on size)
- a half-yard of fabric (depending on your size and the width of the fabric)
- half-yard of felt, fleece, sweatshirt, or other non-woven material, should be thick and stable
- half-yard of lining material, may be the same as above
- thread to match the fabric or upholstery thread (depending on technique)
- 4 pant hook closures (heavy duty)
- embellishments of your choice
TIP: This is a great project for remnants. If you don’t have a long enough single piece of buckram, you can zig-zag stitch a couple pieces together. It is OK to overlap the buckram. You can abut pieces of felt together to make a full pattern piece, but do not overlap or it will add uneven bulk. Nobody is going to see the base so don’t worry if it looks like Frankenstein’s monster.
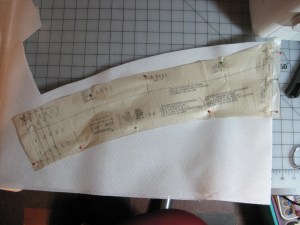
Step 1: The Pattern
Confession time: I’m pretty lazy. But I am also busy. This has led me to the crossroads of efficiency. If you have worn any sort of fitted belt before you know that they are not straight, but curved to fit your hips. I’m not great at making more advanced patterns, I can’t ever seem to get the measurements right with a tailor’s curve. So I just bought a pattern. I DO NOT FOLLOW THE PATTERN INSTRUCTIONS. I just bought it for the curve. If I wait for a sale at JoAnn Fabrics I can get patterns for $1-$2, which is totally worth the money vs wasting my time trying to make my own pattern. Today I will be using Simplicity (TM) Pattern #2158. There are other patterns, you don’t have to use this specific one.

Simplicity (TM) Pattern 2158
A note on pre-made patterns here: The sizing is not even remotely what your actual dress size is. When I buy a dress or pants at a department store I am typically about a size 8. In a Simplicity (TM) pattern I am size 16. Measure yourself before you buy the pattern. One other drawback to purchasing a pattern is that they often do not make patterns for larger ladies. The largest size they make for #2158 is their size 22, which is a 46 inch hip. You may be able to alter it up, but I leave that to you more knowledgeable sewers. Do bear in mind this is not fitted around the curve of the butt (no darts), just around the hip.
Back to the part where I don’t follow the pattern directions. If you made this to specs it would be rather thin and the instructions would have you lacing it up in the back with ribbon. This is not something I would ever do. That’s just crazy. We’ll fix that in step 2.
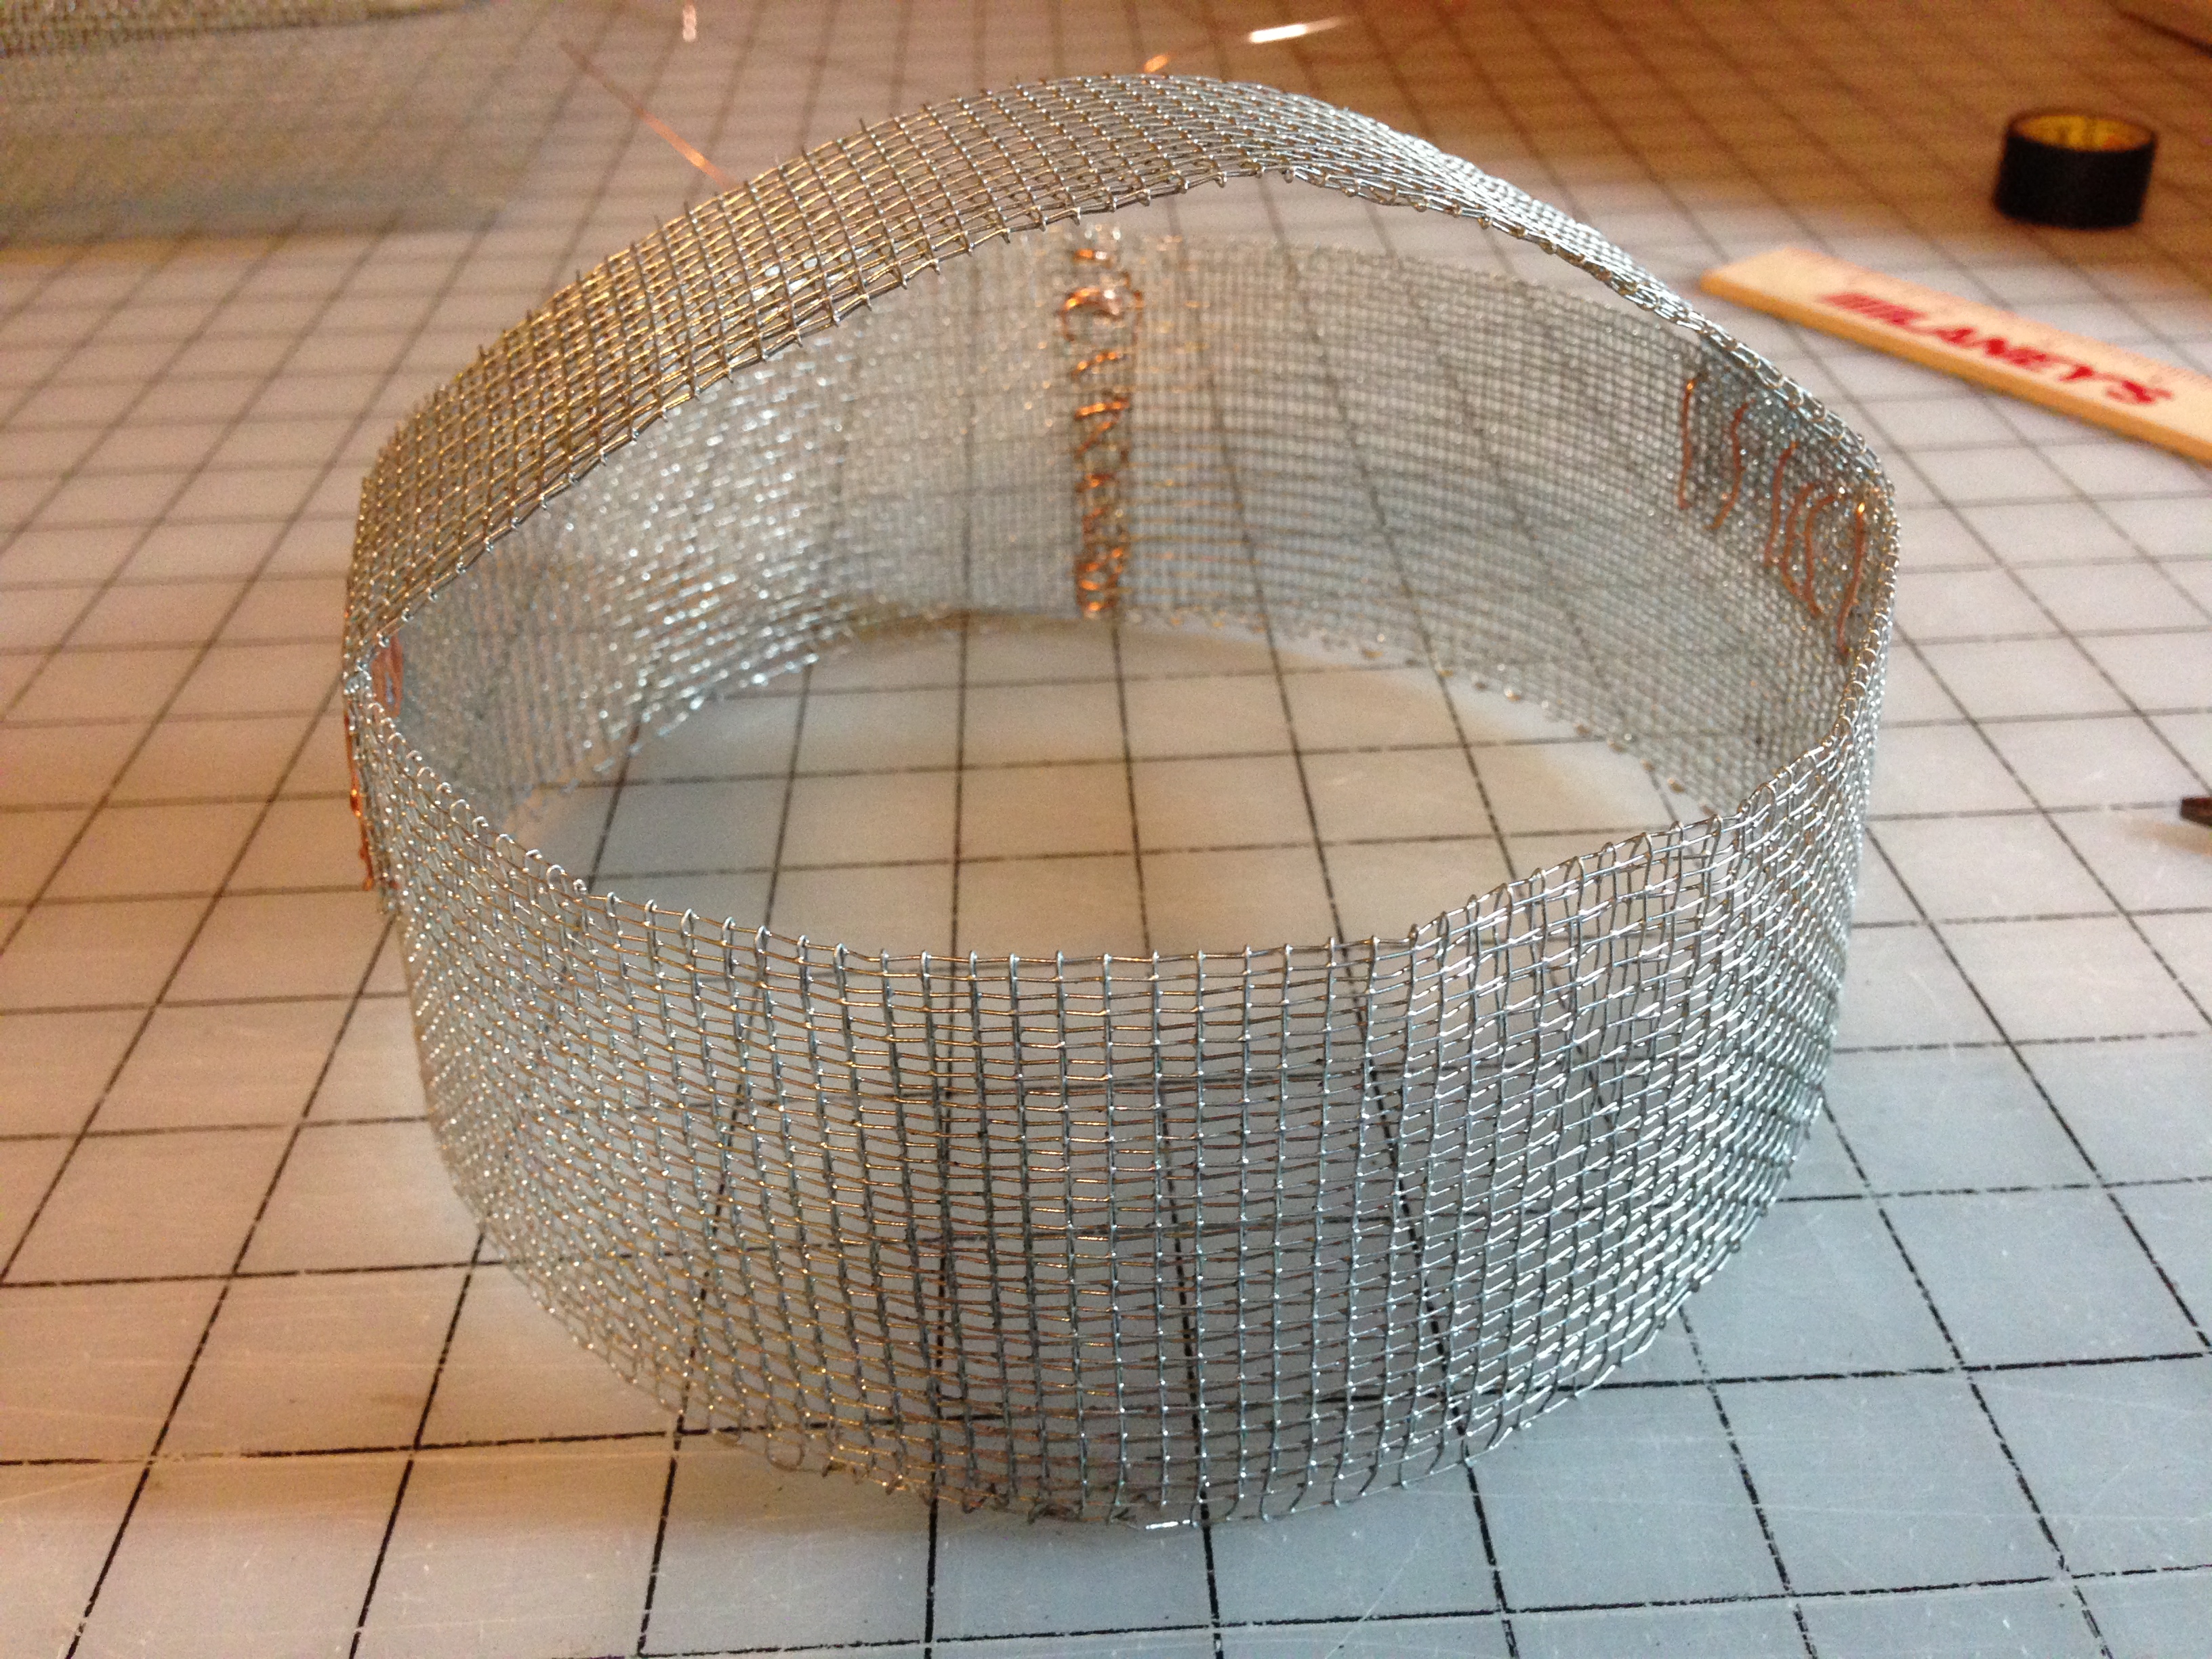
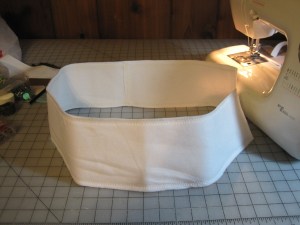
Step 2: Making The Base
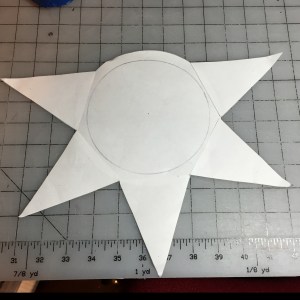
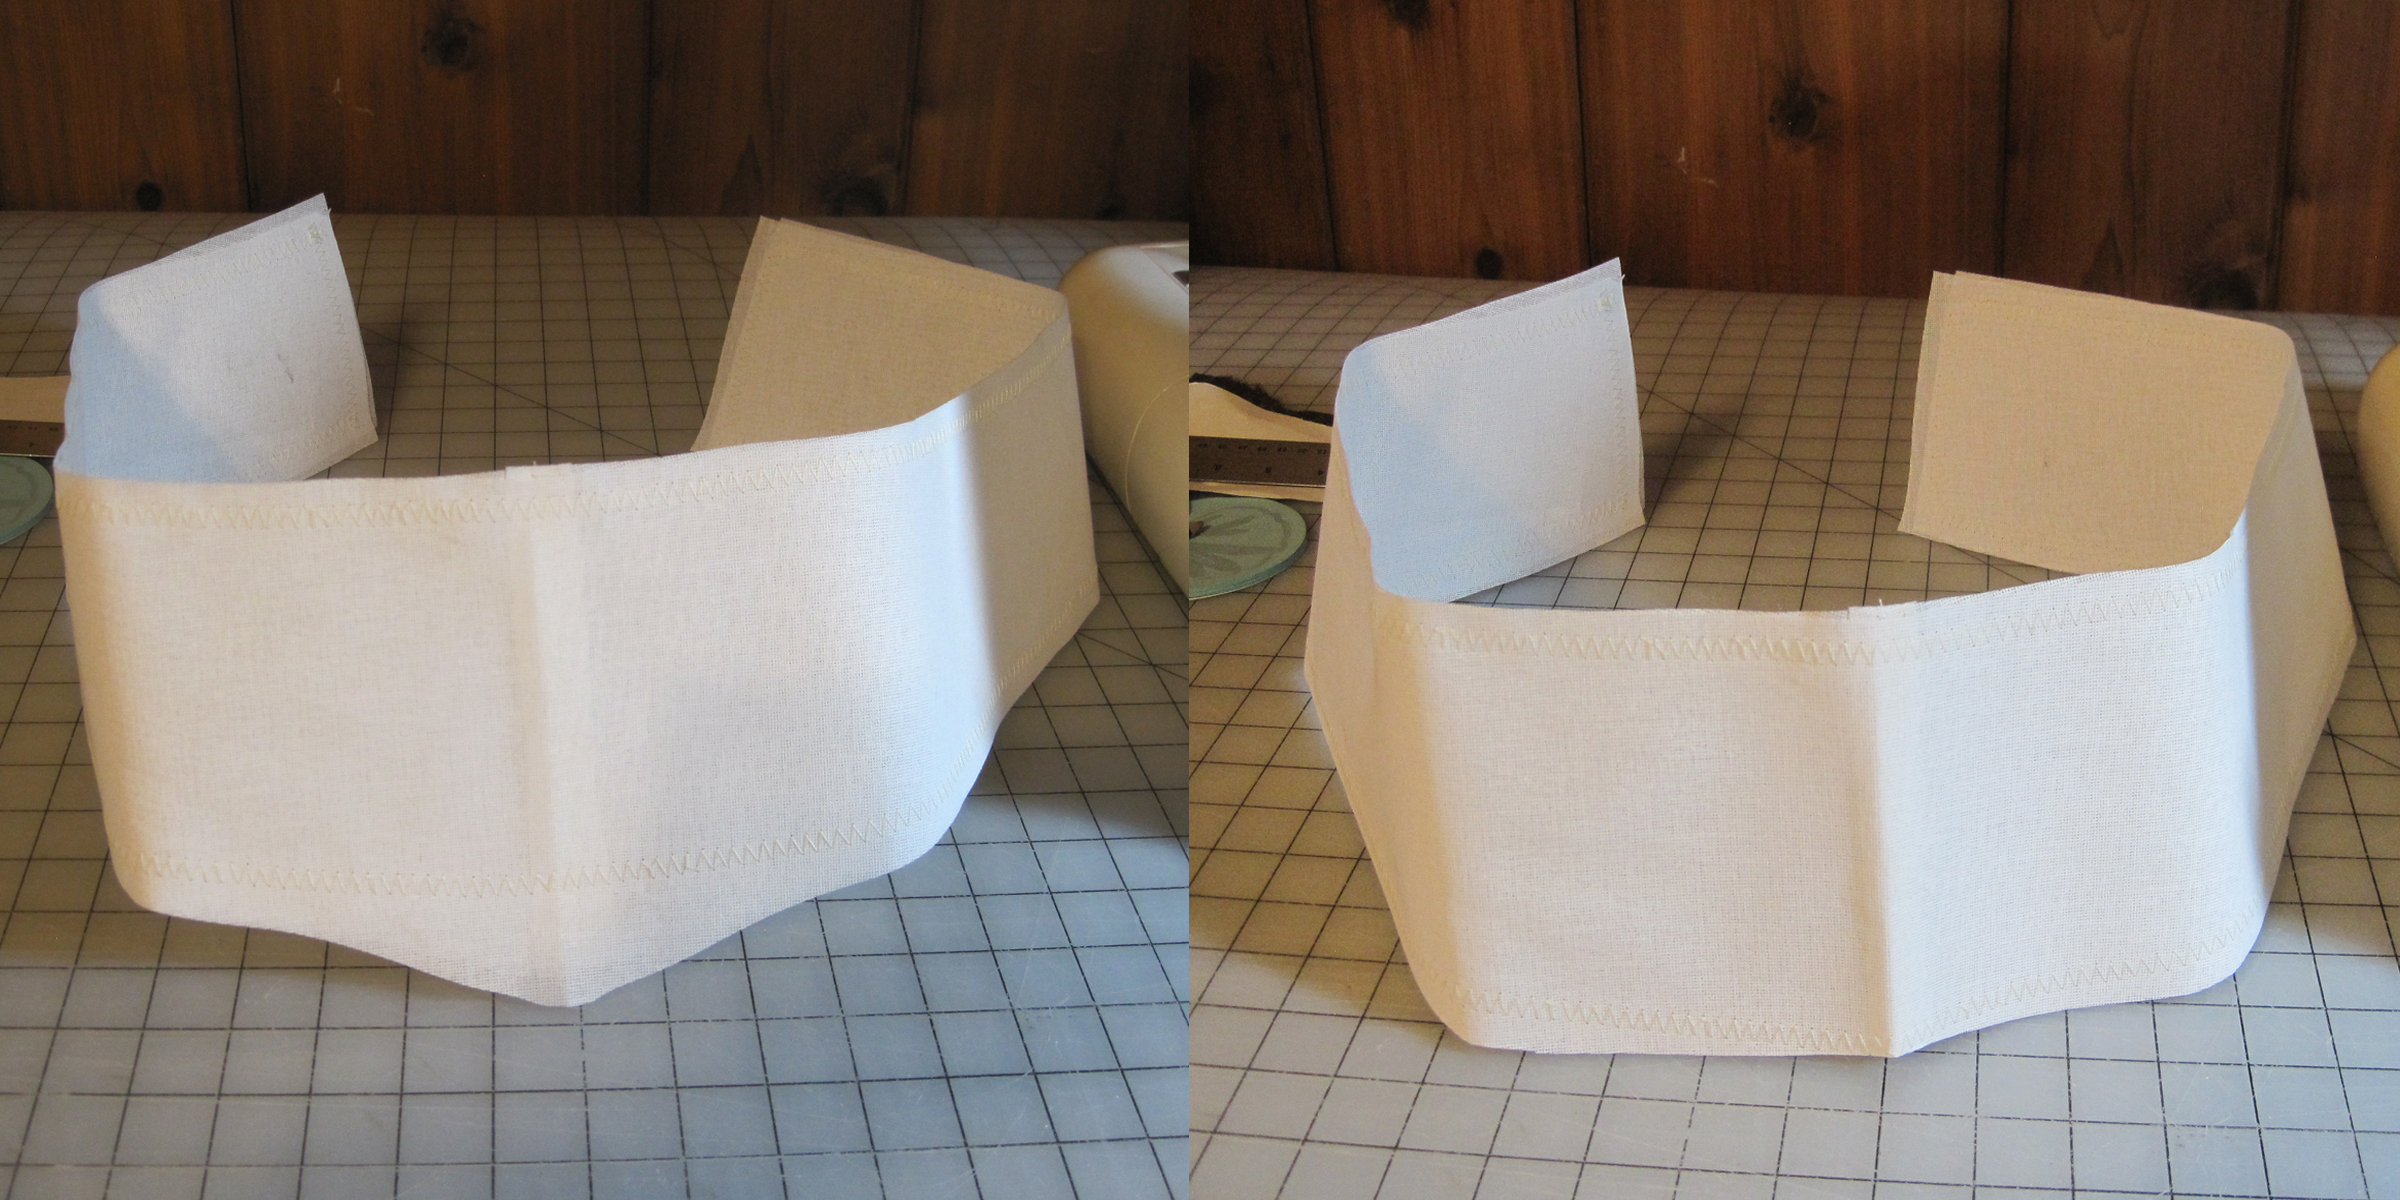
Cut 2 pieces out of buckram
First, cut out two layers of buckram for the base using the pattern as it is, and stitch them together as 2 layers. This is your sturdy base for adding embellishments that will not sag or lose shape. Pattern #2158, as I mentioned, plans for you to fasten the belt in the back. There actually may be instances when you would do so, like if you are attaching a super cool pre-made coin belt to the base for stability, and that coin belt just happens to hook in the back. But normally if I have to quick change in a dressing room between acts I like to be able to easily reach the hooks so I make it hook at the side.

I used a loose zig-zag stitch to join the two pieces. Didn’t like the pointy tip so I just cut it off.
So, once you have cut out the 2 buckram pieces and sewn them together (DO NOT trim down the seam allowance), figure out where you want the fasteners to hook up. I usually prefer on my left hip. I place the fasteners in such a way that the front will overlap the back so the audience won’t be as likely to see the hooks. It doesn’t really matter, as long as you can comfortably hook it. You can even make a front and back piece and have fasteners on both sides. For my example I will only hook on the one side. If you want the belt to hook in the back just leave it as-is. If you want the belt to hook on the side, wrap the buckram around your hips where you want it to rest and mark (or have a friend mark) where the ends overlap across your backside. Then make a mark where you want the fasteners to go. Sew the back ends together in place so you have a full circle. Then just cut where you want the fasteners to go. I recommend making it a little loose at this point because you will need a little overlap for the fasteners. You will get extra overlap with the addition of lining and fabric, but adding all of this together gives you some wiggle room if you need to adjust for a change in your body size.

Stitch the back ends together, then cut the side where you want it to fasten
Note: this particular pattern has a point in front. If you don’t want a point you can just cut it off at this stage. But the back and front are still different, this is not reversible. If you decide you want to turn it around so the fasteners are on the other side you can’t after you have the fabric on.
Thinking ahead: You can also now cut out the lining using the buckram base as a template.
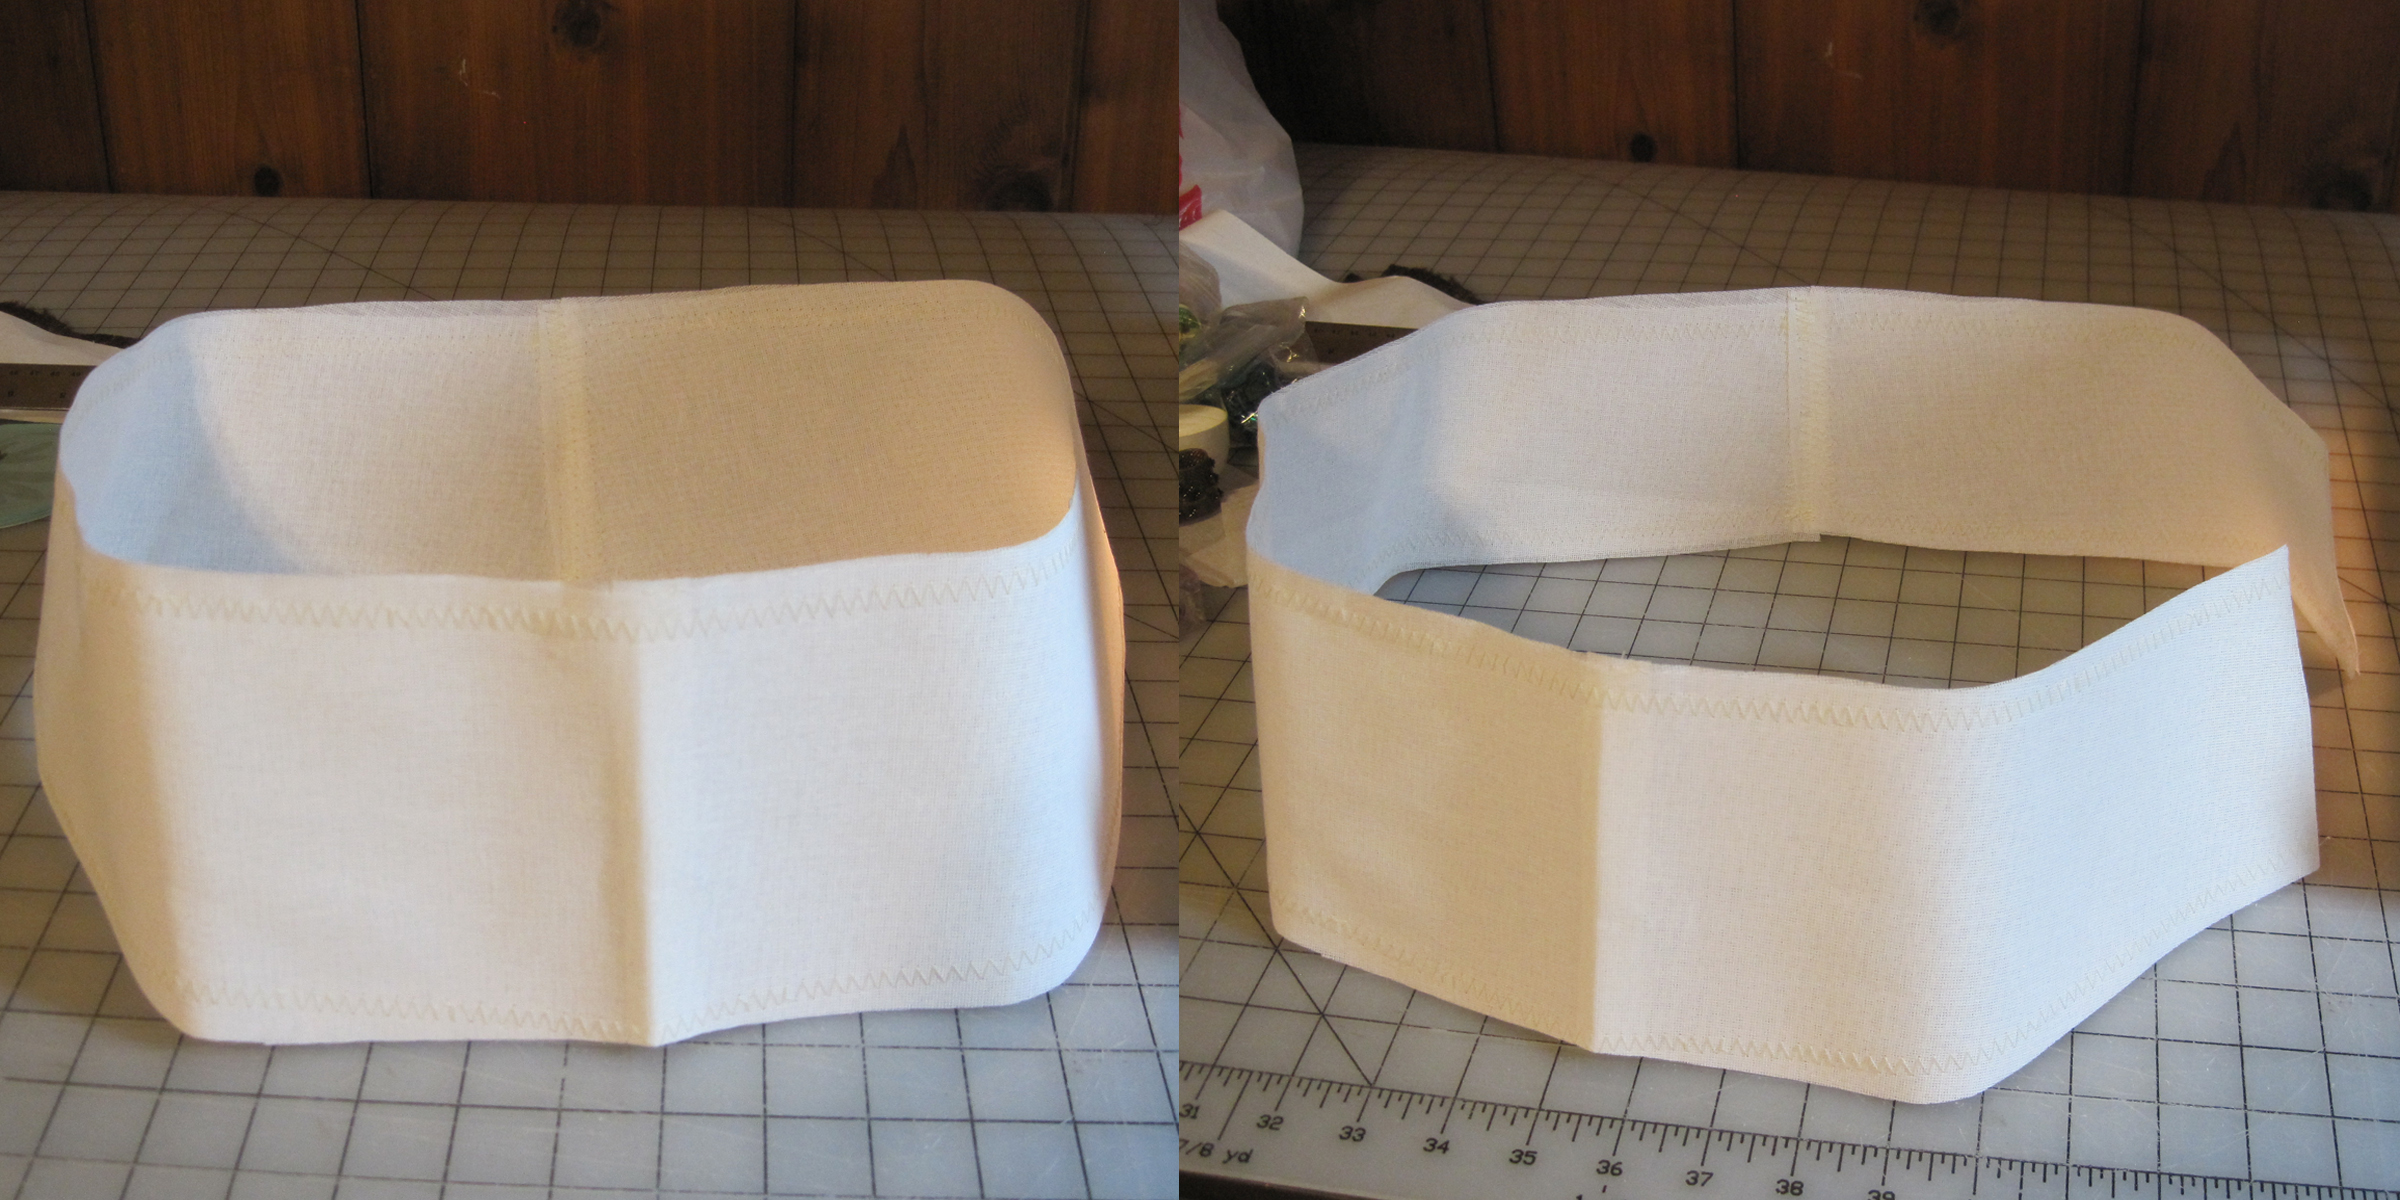
Step 3: Bulk It Up
Used a wide zig-zag stitch to attach the felt layer
Now you will want to use your buckram belt base as a template for your next layer of felt, fleece, or whatever material you have chosen. You will want to use something with some bulk to it for stability. The technique you choose for attaching it will actually be decided by what material you use to cover it. If you are using a thinner material I would recommend you cut out a piece of felt that exactly matches the buckram base, and stitch it on just like you stitched the buckram together. If you are using a very thick material, like Velboa or other fake fur, stitching with a sewing machine can be extremely difficult. In that case I would cut the felt an extra inch all the way around, fold it over and then top stitch it on to the buckram. That way you can hand stitch the Velboa (or whatever) directly to the felt. I would not use the overlapping felt method to work with thinner materials because it can lead to wrinkling and bunching, and just unnecessary extra work.
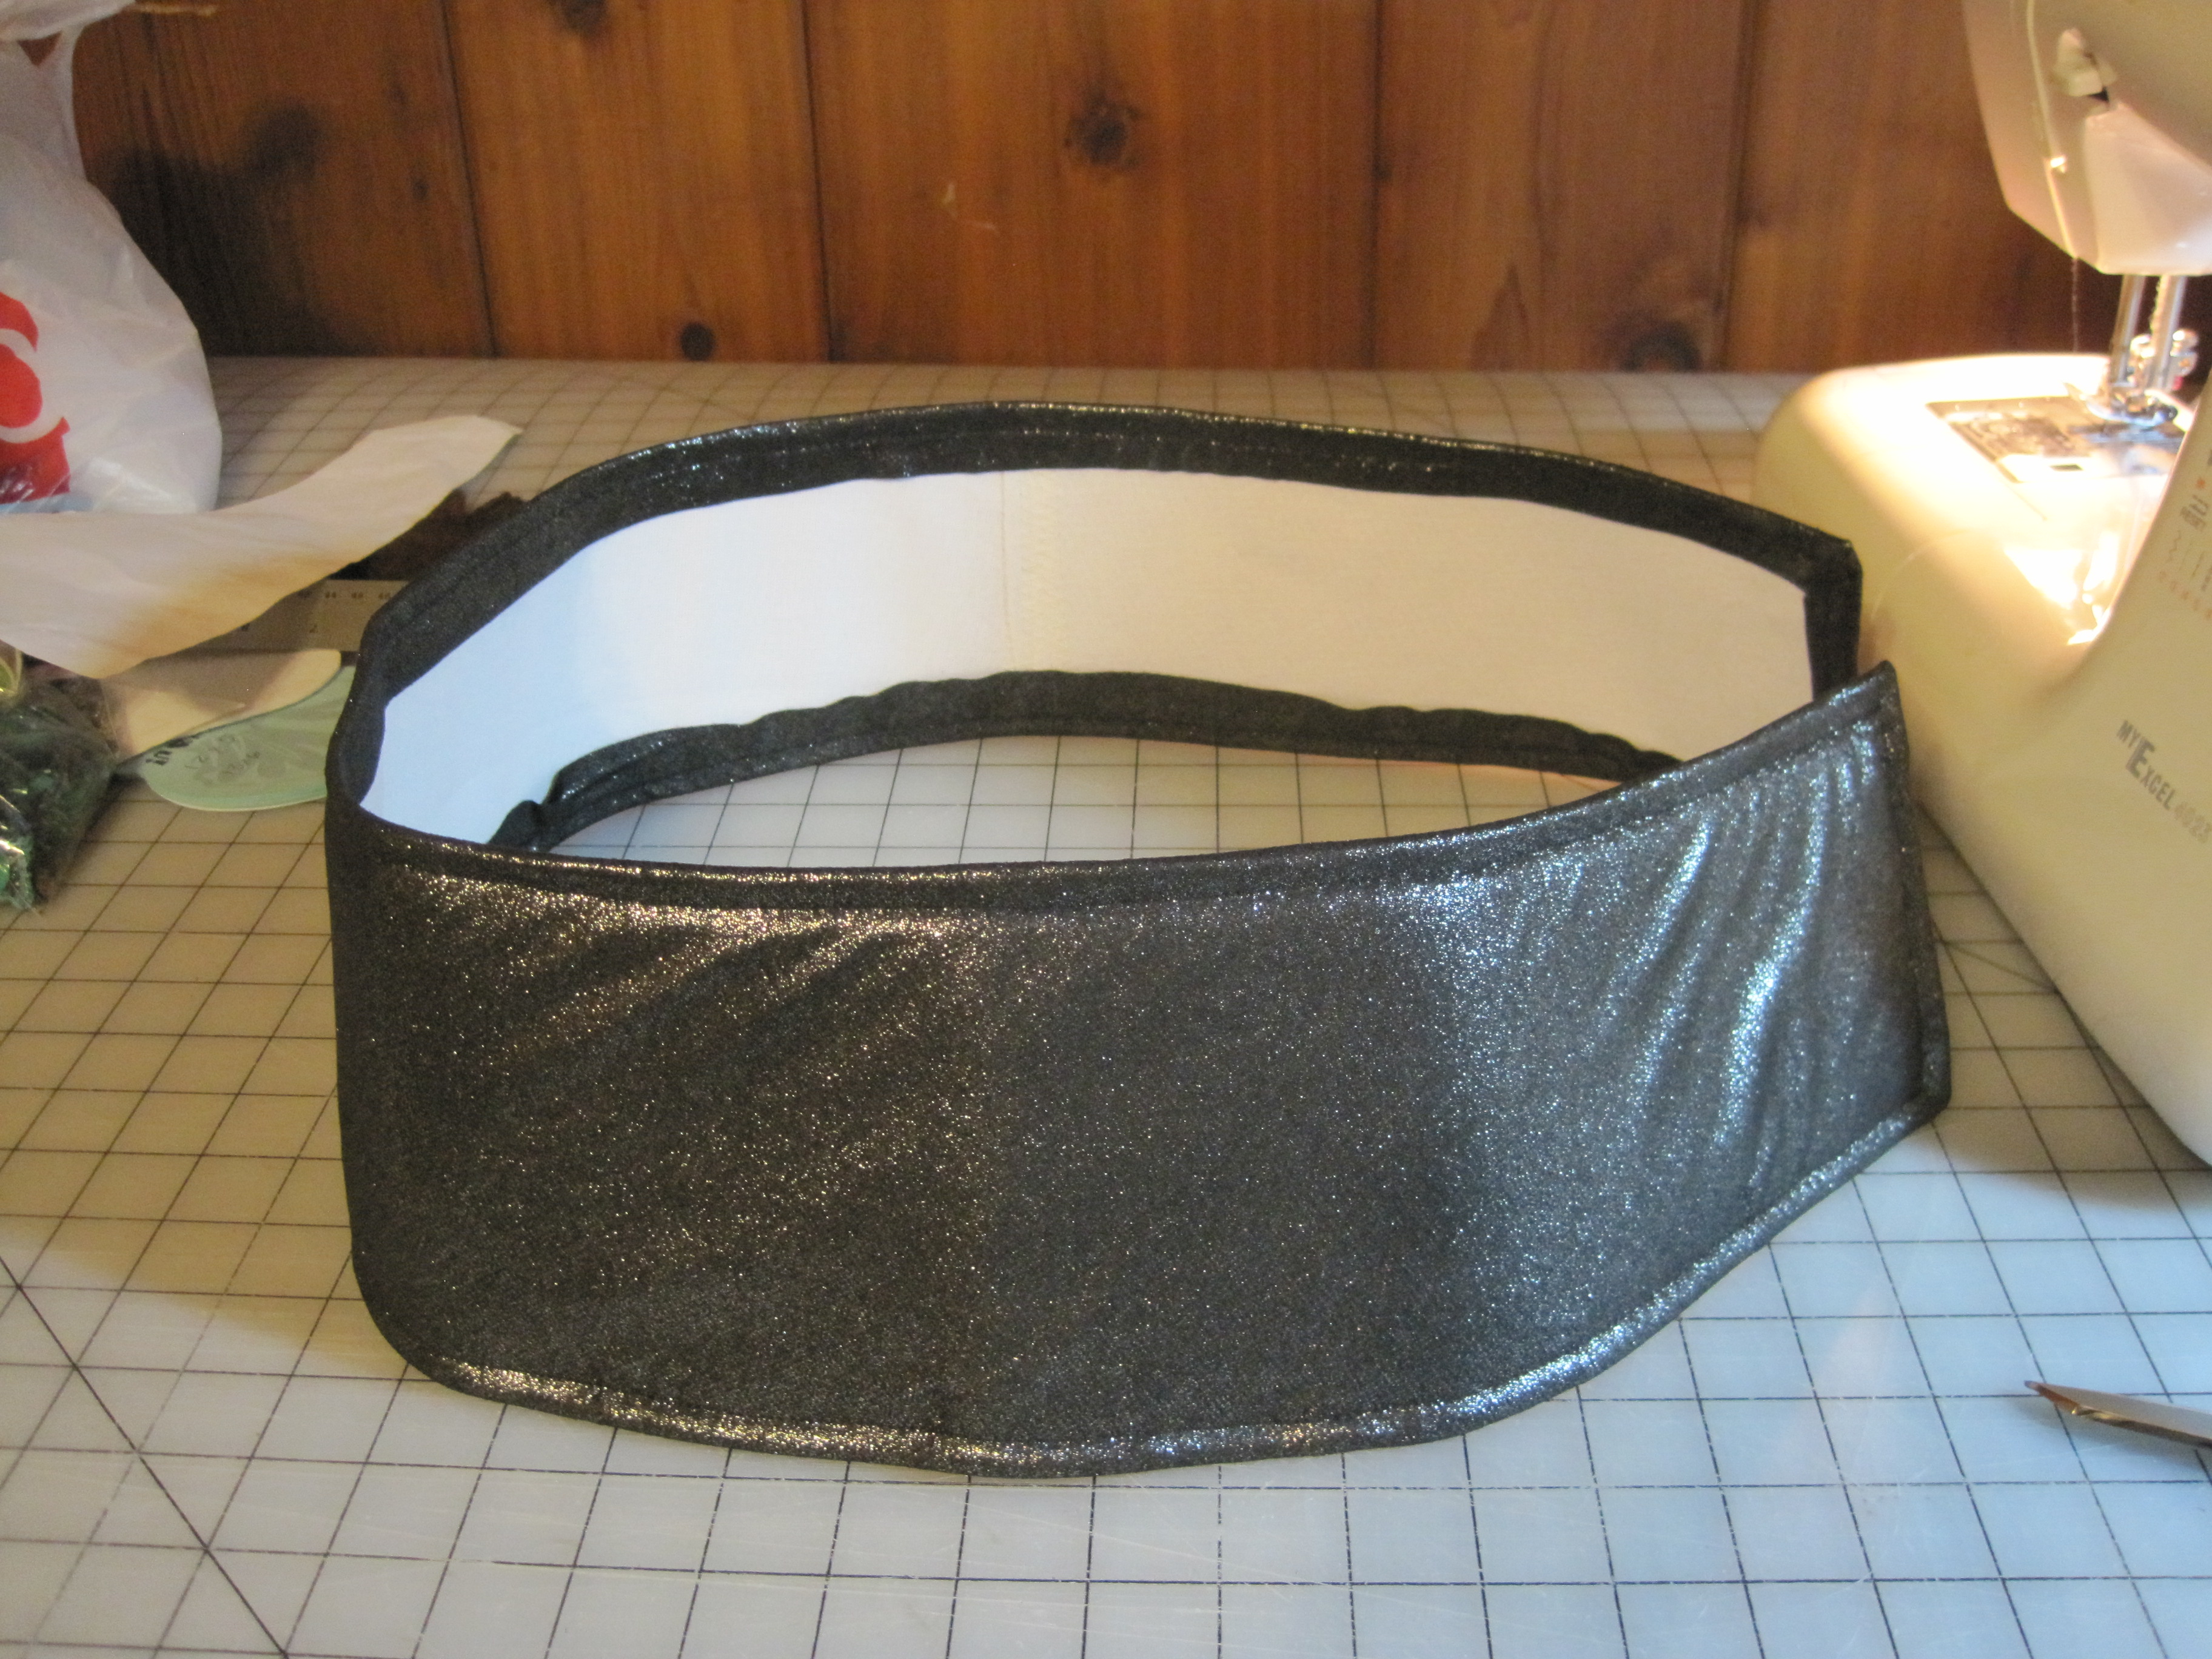
Step 4: Cover The Base

Top-stitched the cover fabric. Note there is some wrinkling here. This was a rubbery fabric that was difficult to work with so consider that in your fabric choice.
Now you can use your buckram and felt base as a template to cut out your cover fabric. Cut the fabric an inch larger than your base. Fold it over the edges and pin it. For corners I typically fold diagonally along the point, and then fold in the sides. For thinner fabrics, top stitch it in place. For thicker fabrics, whip stitch fabric in place to the felt on the “wrong” side of the belt.
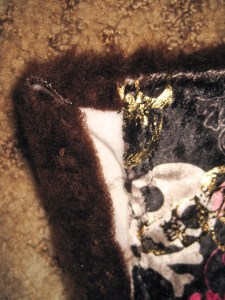
In this version, the fake fur was too thick to fold and I had to cut notches at the corners. This part will not be seen and does not have to look pretty.
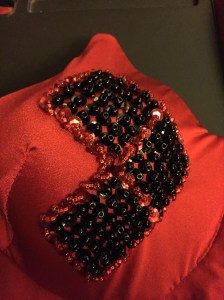
Step 5: Embellish
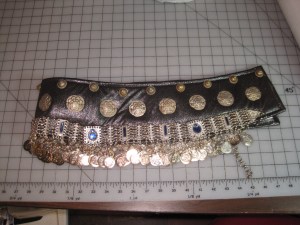
This is a good solution for stabilizing unruly coin belts.
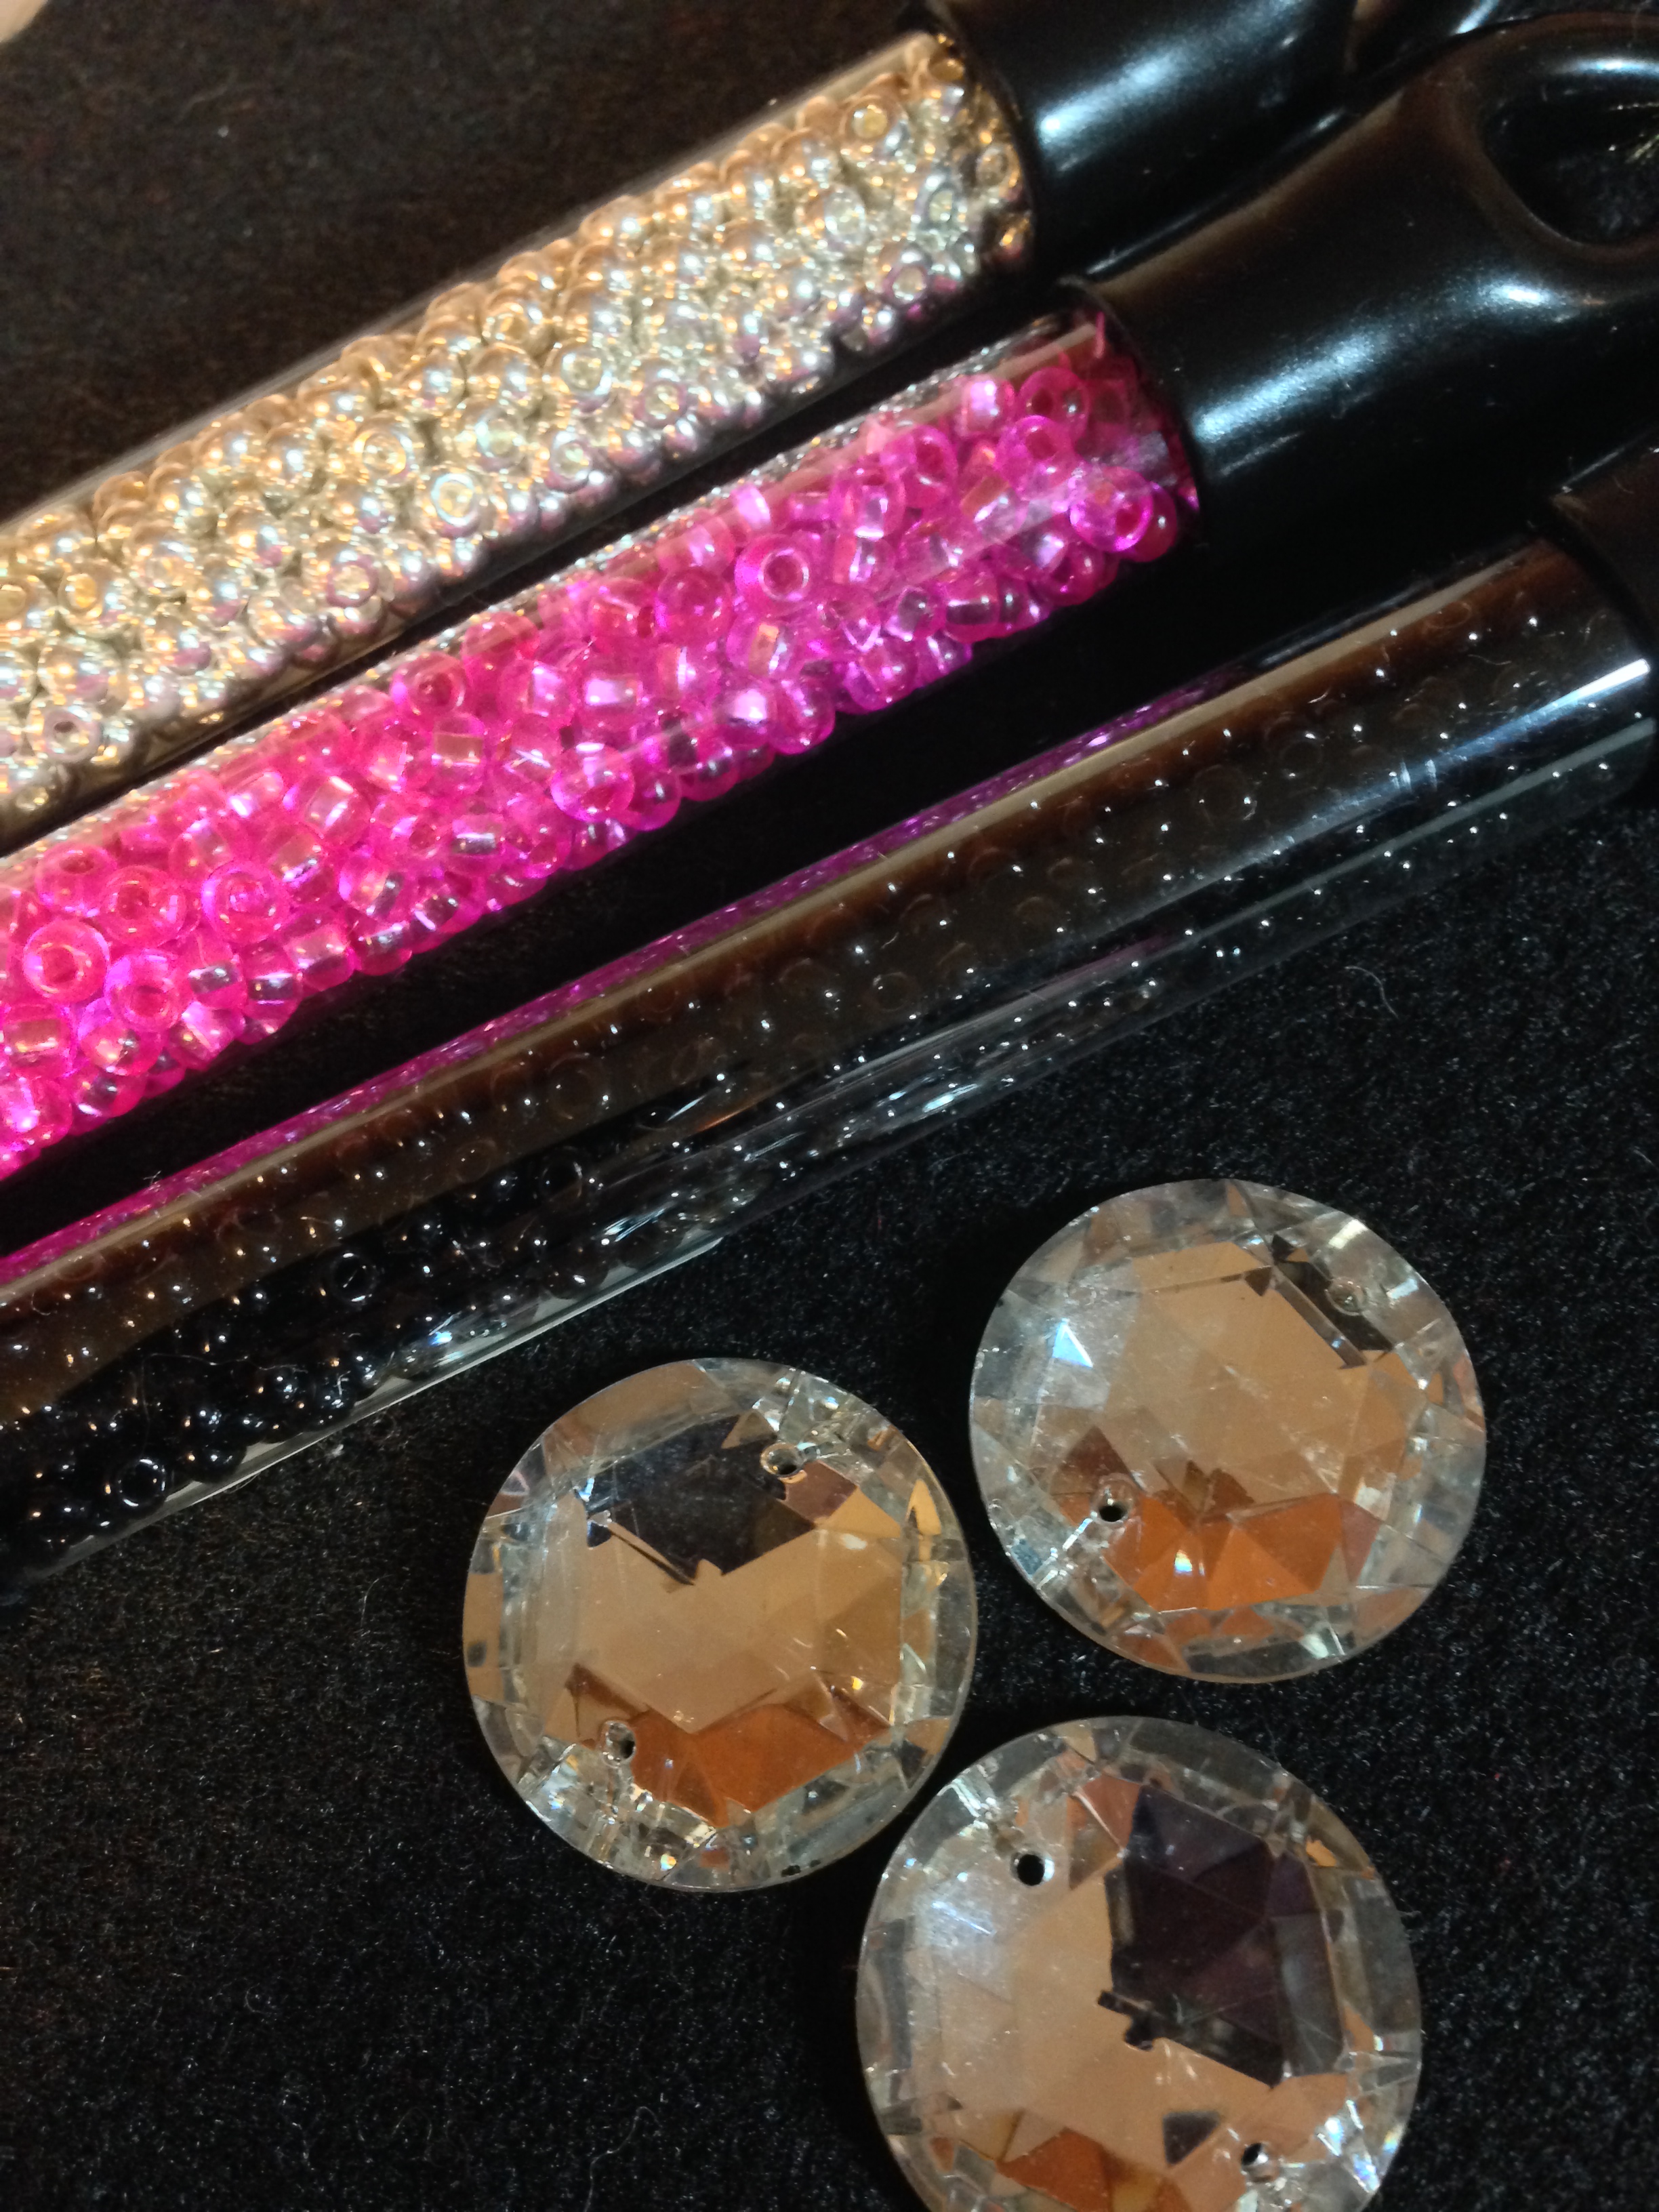
I embellish BEFORE I add the lining so that all of the little knots don’t rub against me or my skirt, which can be irritating to me, but also cause the knots to come loose. Here you can just go wild and do whatever you want. Or, if you have really nice fabric, or just have a minimalist style, you can do nothing at all. Totally up to you. I strongly recommend upholstery or beading thread for this stage if possible (if the thread doesn’t really show) because normal sewing thread can break easily here.
Step 6: Line it
I use whatever I have handy because nobody is going to see the lining anyway. Sometimes felt, sometimes I use whatever remnants I have around that fit the bill. I had a thin black velvet with a foil skull print I got as a remnant left over from Halloween that I was using up for a while. Bear in mind that whatever you use here can add yet more bulk to the belt, which could be good or bad, depending on how thick it is already. Totally up to you. You can do this by cutting out a piece from your original pattern, or using your current belt as a template. You will want the lining to be smaller than the belt so that it does not stick out along the edges. Just whip stitch in place directly to the fabric overlap along the edges.

Lining and fasteners installed.
Step 7: Install The Fasteners
I always do this step last, because like many people I can gain or lose weight over the course of several years and I may need to adjust the placement of the hooks. It is a lot easier to do this if you don’t have to pull off the lining. I recommend the pant hooks because they are pretty heavy duty and you don’t want your belt falling off mid-shimmy!
TIP: When hand-sewing your embellishments and fasteners, finish the knot off with some bead glue. You will be extra-sure that it will not come undone. I also recommend upholstery or beading thread for this step.
My Own Experiences
I have tried several different versions of this and I feel I have streamlined my costume making technique pretty well. From my own experience I have a few bits of advice:
- Sew on materials rather than glue so you can re-use them if your costume gets worn out, dirty, etc. Saves you money in the long run.
- Consider using materials you already have, but don’t use, as embellishments: old (broken) necklaces, earrings, scraps of material or trim, buttons, etc. Also saves money, and really creates a unique look.
- Keep an eye out for nice but discounted remnant fabrics to use for this project, and for the bra project. A single remnant can make a whole bedlah!
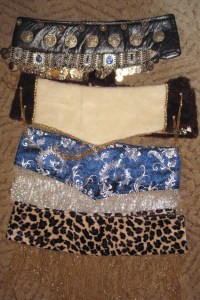
From top: base with coin belt attached, fake fur covered base for reindeer costume, damask-covered belt with silver glass bead fringe, animal pattern Velboa covered base with gold glass bead fringe. All made using the same technique.
Now, just match it up with your bra and you’ve made your own custom bedlah! Congrats!
Disclaimer: I have no affiliation with JoAnn Fabrics or Simplicity, they do not pay me any money to endorse their products. I pay THEM loads of money all the time though!