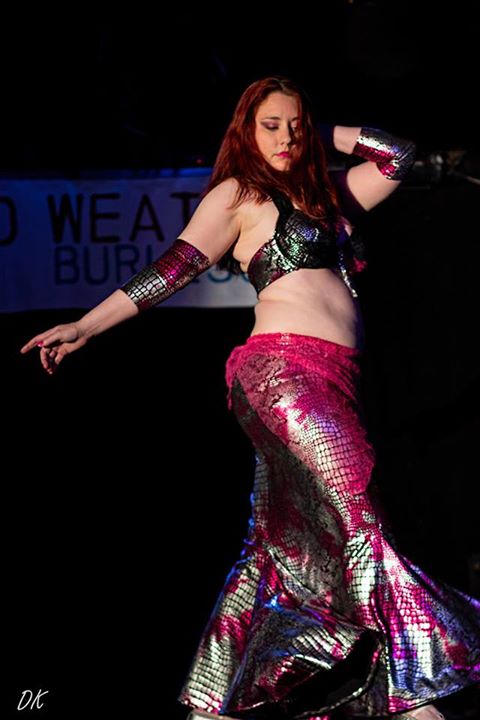
From Queerfest 2014, Photo courtesy Douglas Klettke
Today I’m going to share with you the story of my latest costume, this pink and silver snakeskin Lycra number you see above. In the interest of helping you with your costumes I’m going to tell you the tale of how this costume and routine came into being, what I did and what I would have done differently and plan to change.

It started with inspiration
This all started with jewelry. My lovely sister gave me a silver and pink plate mail necklace and earring set last year. I love it to bits, and since this is a statement piece for sure it needed to see the stage. I figured I would make a pink costume based on the color combination but all we have in the local store is some pink Lycra, plain and uninteresting. One day, a few months ago, I was in the Twin Cities at SR Harris looking for stretch lace for an entirely different costume when I happened down the dance wear aisle and I ran right into the fabric you see in the pictures. Hot pink and silver snakeskin with a black background. I knew this was the one, even though I did not have a design plan yet. I got 4 yards because I knew I had a skirt pattern already that I could work with.
So now I had the fabric and the accessories, I had to put it all together into something wearable. I went to my standby bra technique, so that wasn’t too hard. At least the base part wasn’t.

As per instructions in a previous post

Unlike earlier versions I am now using overlapping bands and a halter for stability
I wanted to do something flashier with the skirt. I found the Madame X Mermaid Skirt pattern and decided to give it a try. This was a little trickier. The skirt pattern is the type where you make a sleeve for the elastic so it bunches at the top. Presumably you would put a belt over it to hide the bunching. I did not want to do that. This would be my first attempt at making a dance skirt that would have decorations directly on it.
I started with making the pattern as-is. This is a one-size pattern that gives you instructions on how to measure yourself for fit. It’s not as hard as I thought it would be. I was able to make it in 3 panels so that part was super easy to put together. It would not remain easy. I decided that I would make darts in the back and install a zipper so the skirt would be form fitting. The darts were hard (understatement!) but ultimately I was happy with the fit. The zipper was a complete waste of time. The fabric is so stretchy there was no reason to bother with it. I still had to add elastic so the skirt would not fall down because frankly it is rather heavy.

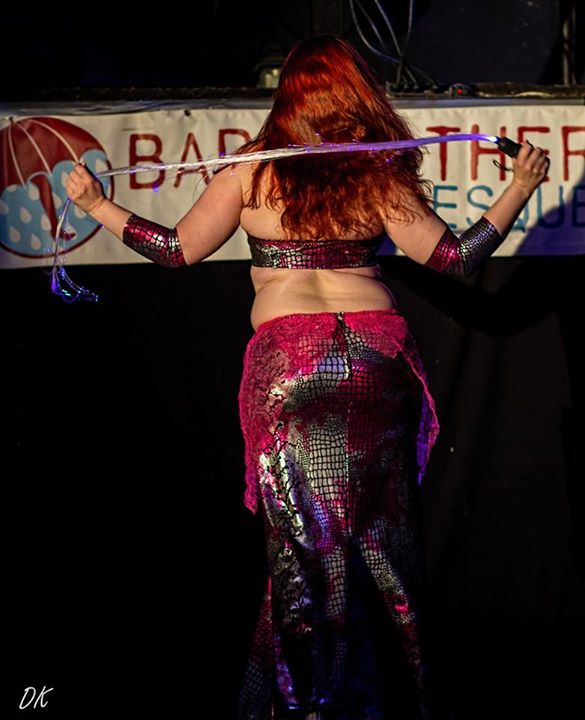
Photo Courtesy Douglas Klettke
I’m not sure if you can tell from this pic, but there is a heck of a lot of fabric below the knee. It makes 1 1/2 circles; it is very full. Each pattern piece is like a rounded “T.” This also makes for the issue of sort of points where the seams meet. I had to hem this so that the points were cut off smooth because it hung longer at the seams and turned out so you could see the back side of the fabric. Once I hemmed it the whole thing was even with the floor and looked much better.

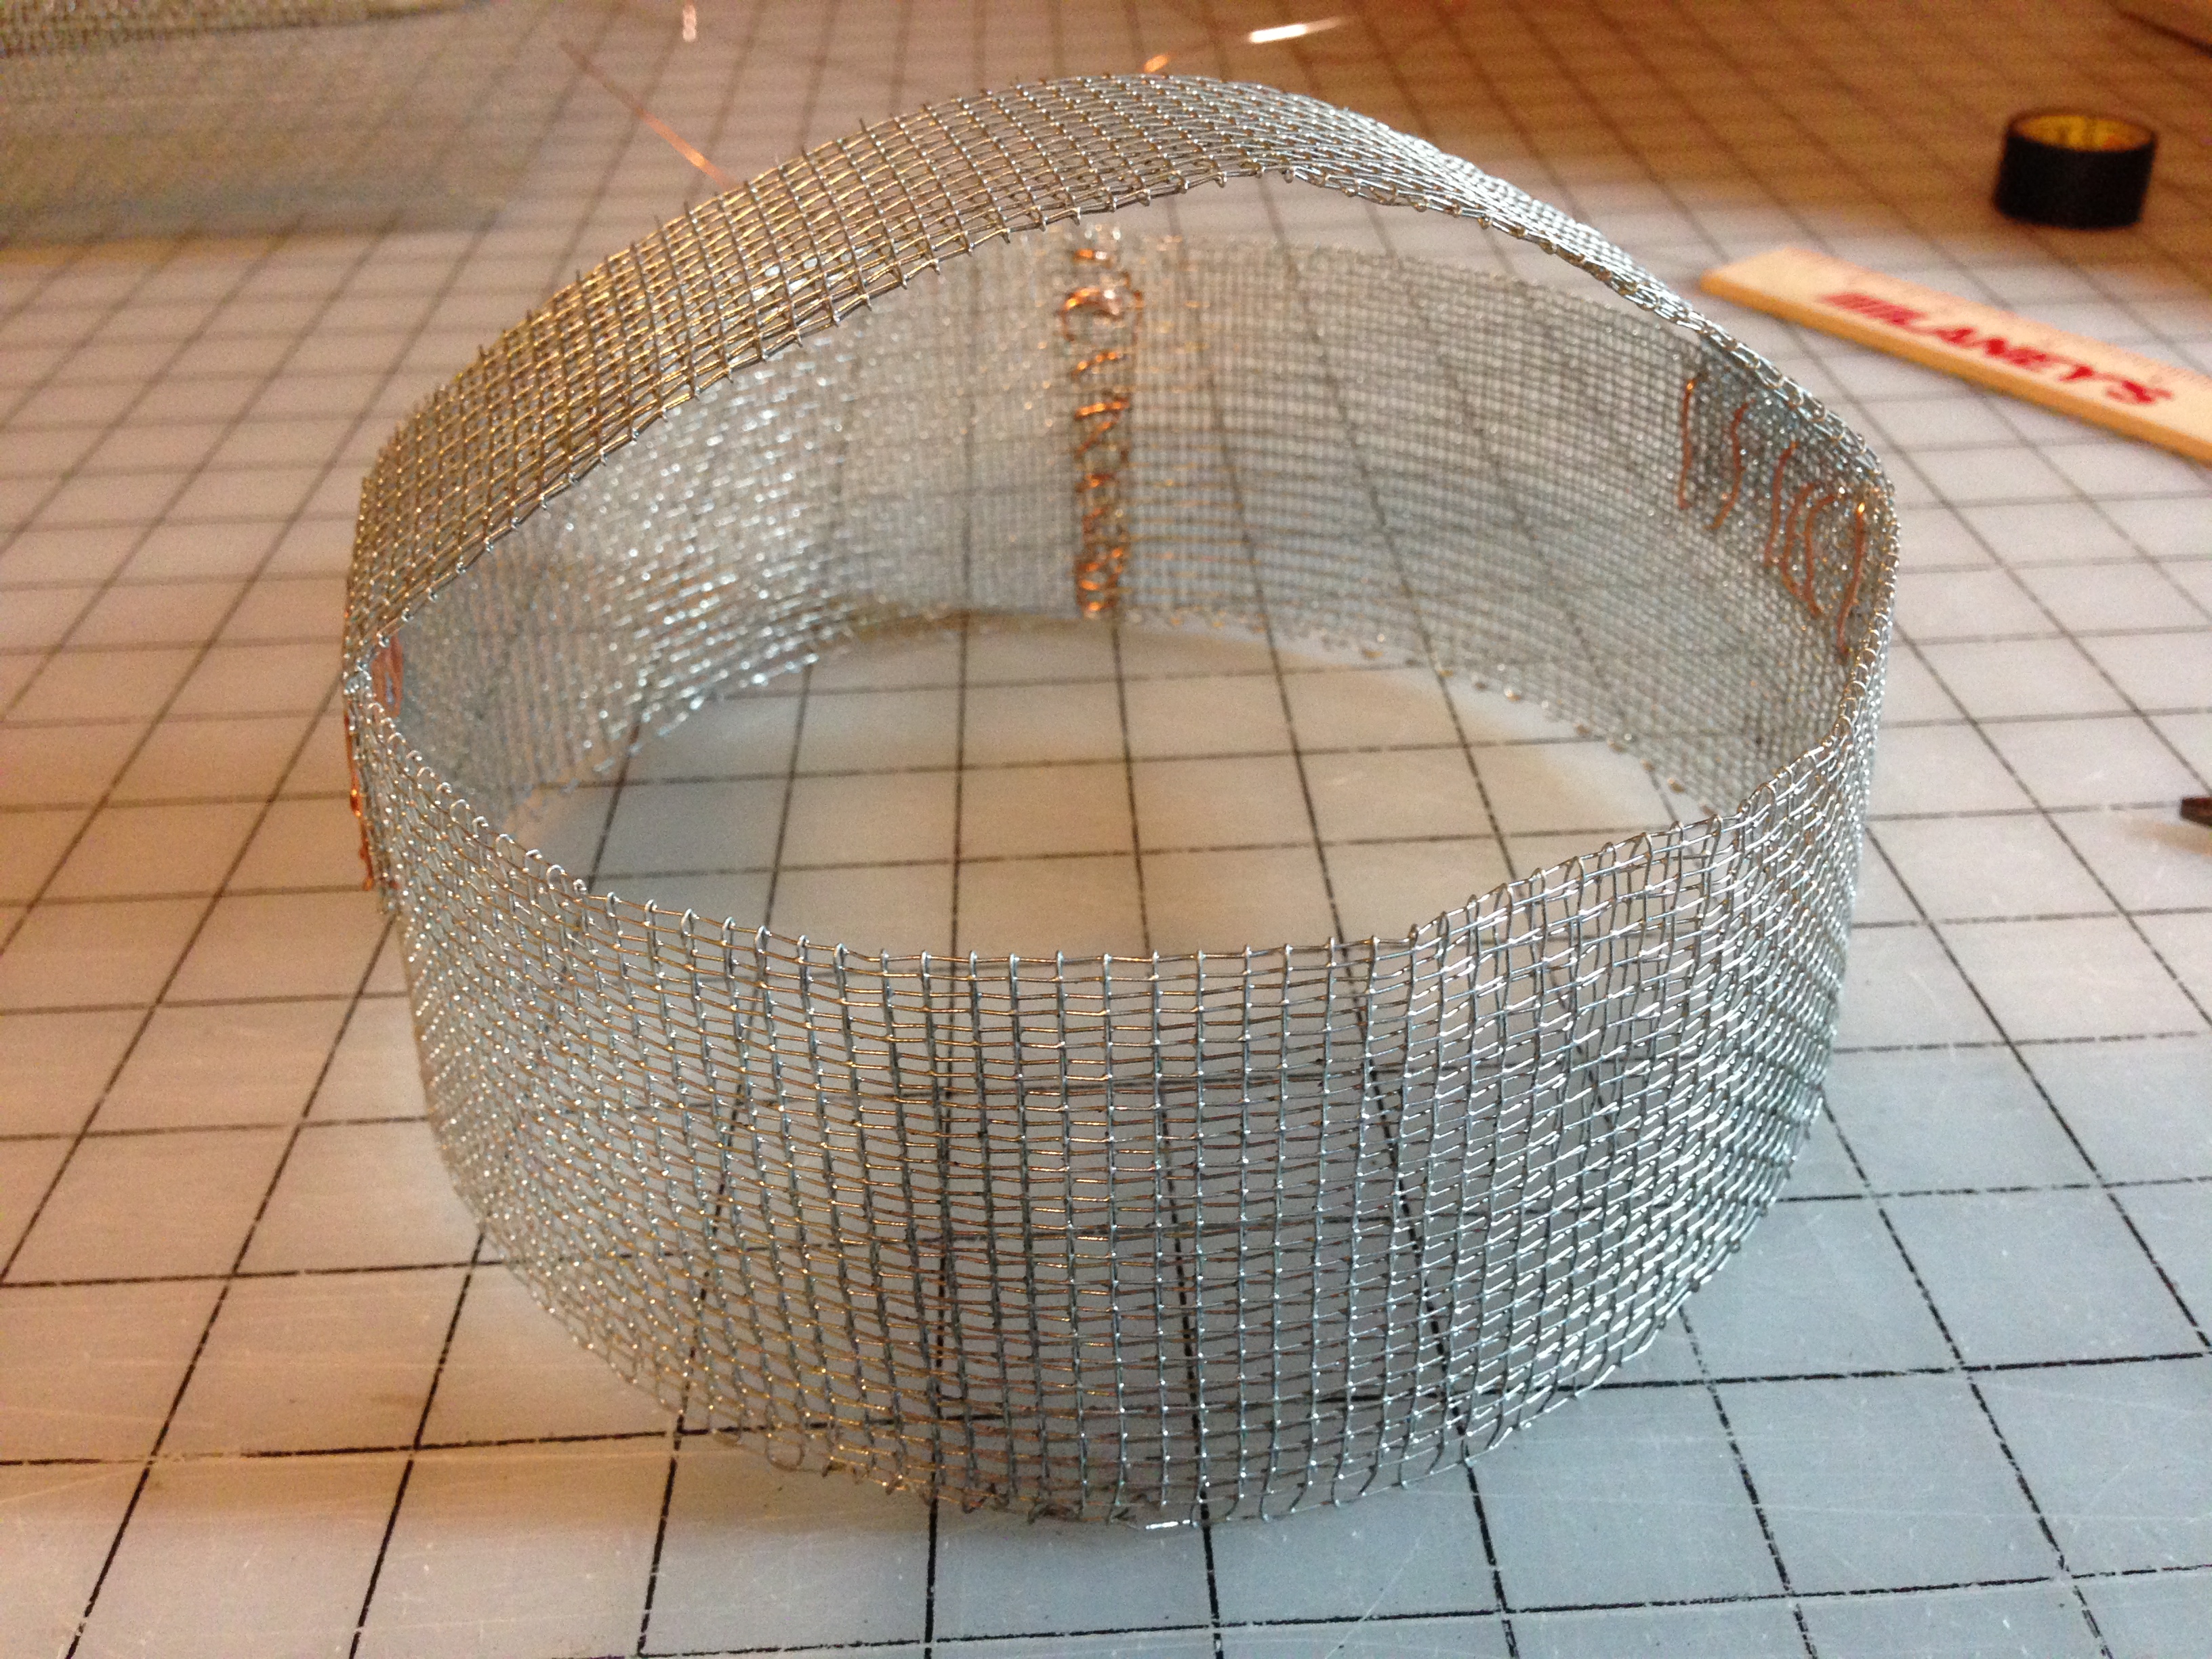
Early experiments with draping the netting
Then we have decoration. That fabric pattern is pretty overwhelming, so I wanted to break it up with something else. I came across this pink crinkle netting at JoAnn Fabrics. I tried laying it across in various ways but I found I needed something else to ground it. So I went back to the store and got some black crinkle netting and I was happy with the combination of the two. In the photos it is a little hard to tell though. My plan was to balance out the pink and black diagonal top to bottom. I eventually got kind of stuck and just made that poofy thing on the skirt. That won’t stay though.
I should mention here that I normally put beaded fringe on my costumes, but since I was going to be whipping around a prop I wanted to make sure nothing got caught or tangled. I have a tiny amount of fringe on a couple parts but I think that will come off too. It does not add anything to the piece.
The elbow gloves are super simple: measure the top part of your arm, the bottom part, length, cut a trapezoid, sew it together – bam, you got elbow gloves.
I am going to make some changes. I was on vacation for a week before Queerfest so I ended up pressed for time to finish. What I plan to do is add a bunch of sparklies over the netting, especially the black part, to give it more depth. I am also going to re-do the skirt decoration so I have a black triangle rather than the wimpy little poof. I will add sparklies diagonally from the black part of the bra to be consistent. I am going to remove the zipper so I can fully cover the back side and make it consistent with the front. I am also going to re-install the elastic with a proper x-casing instead of the quick-n-dirty zigzag stitch (I was in a hurry).

I’ll be making some changes

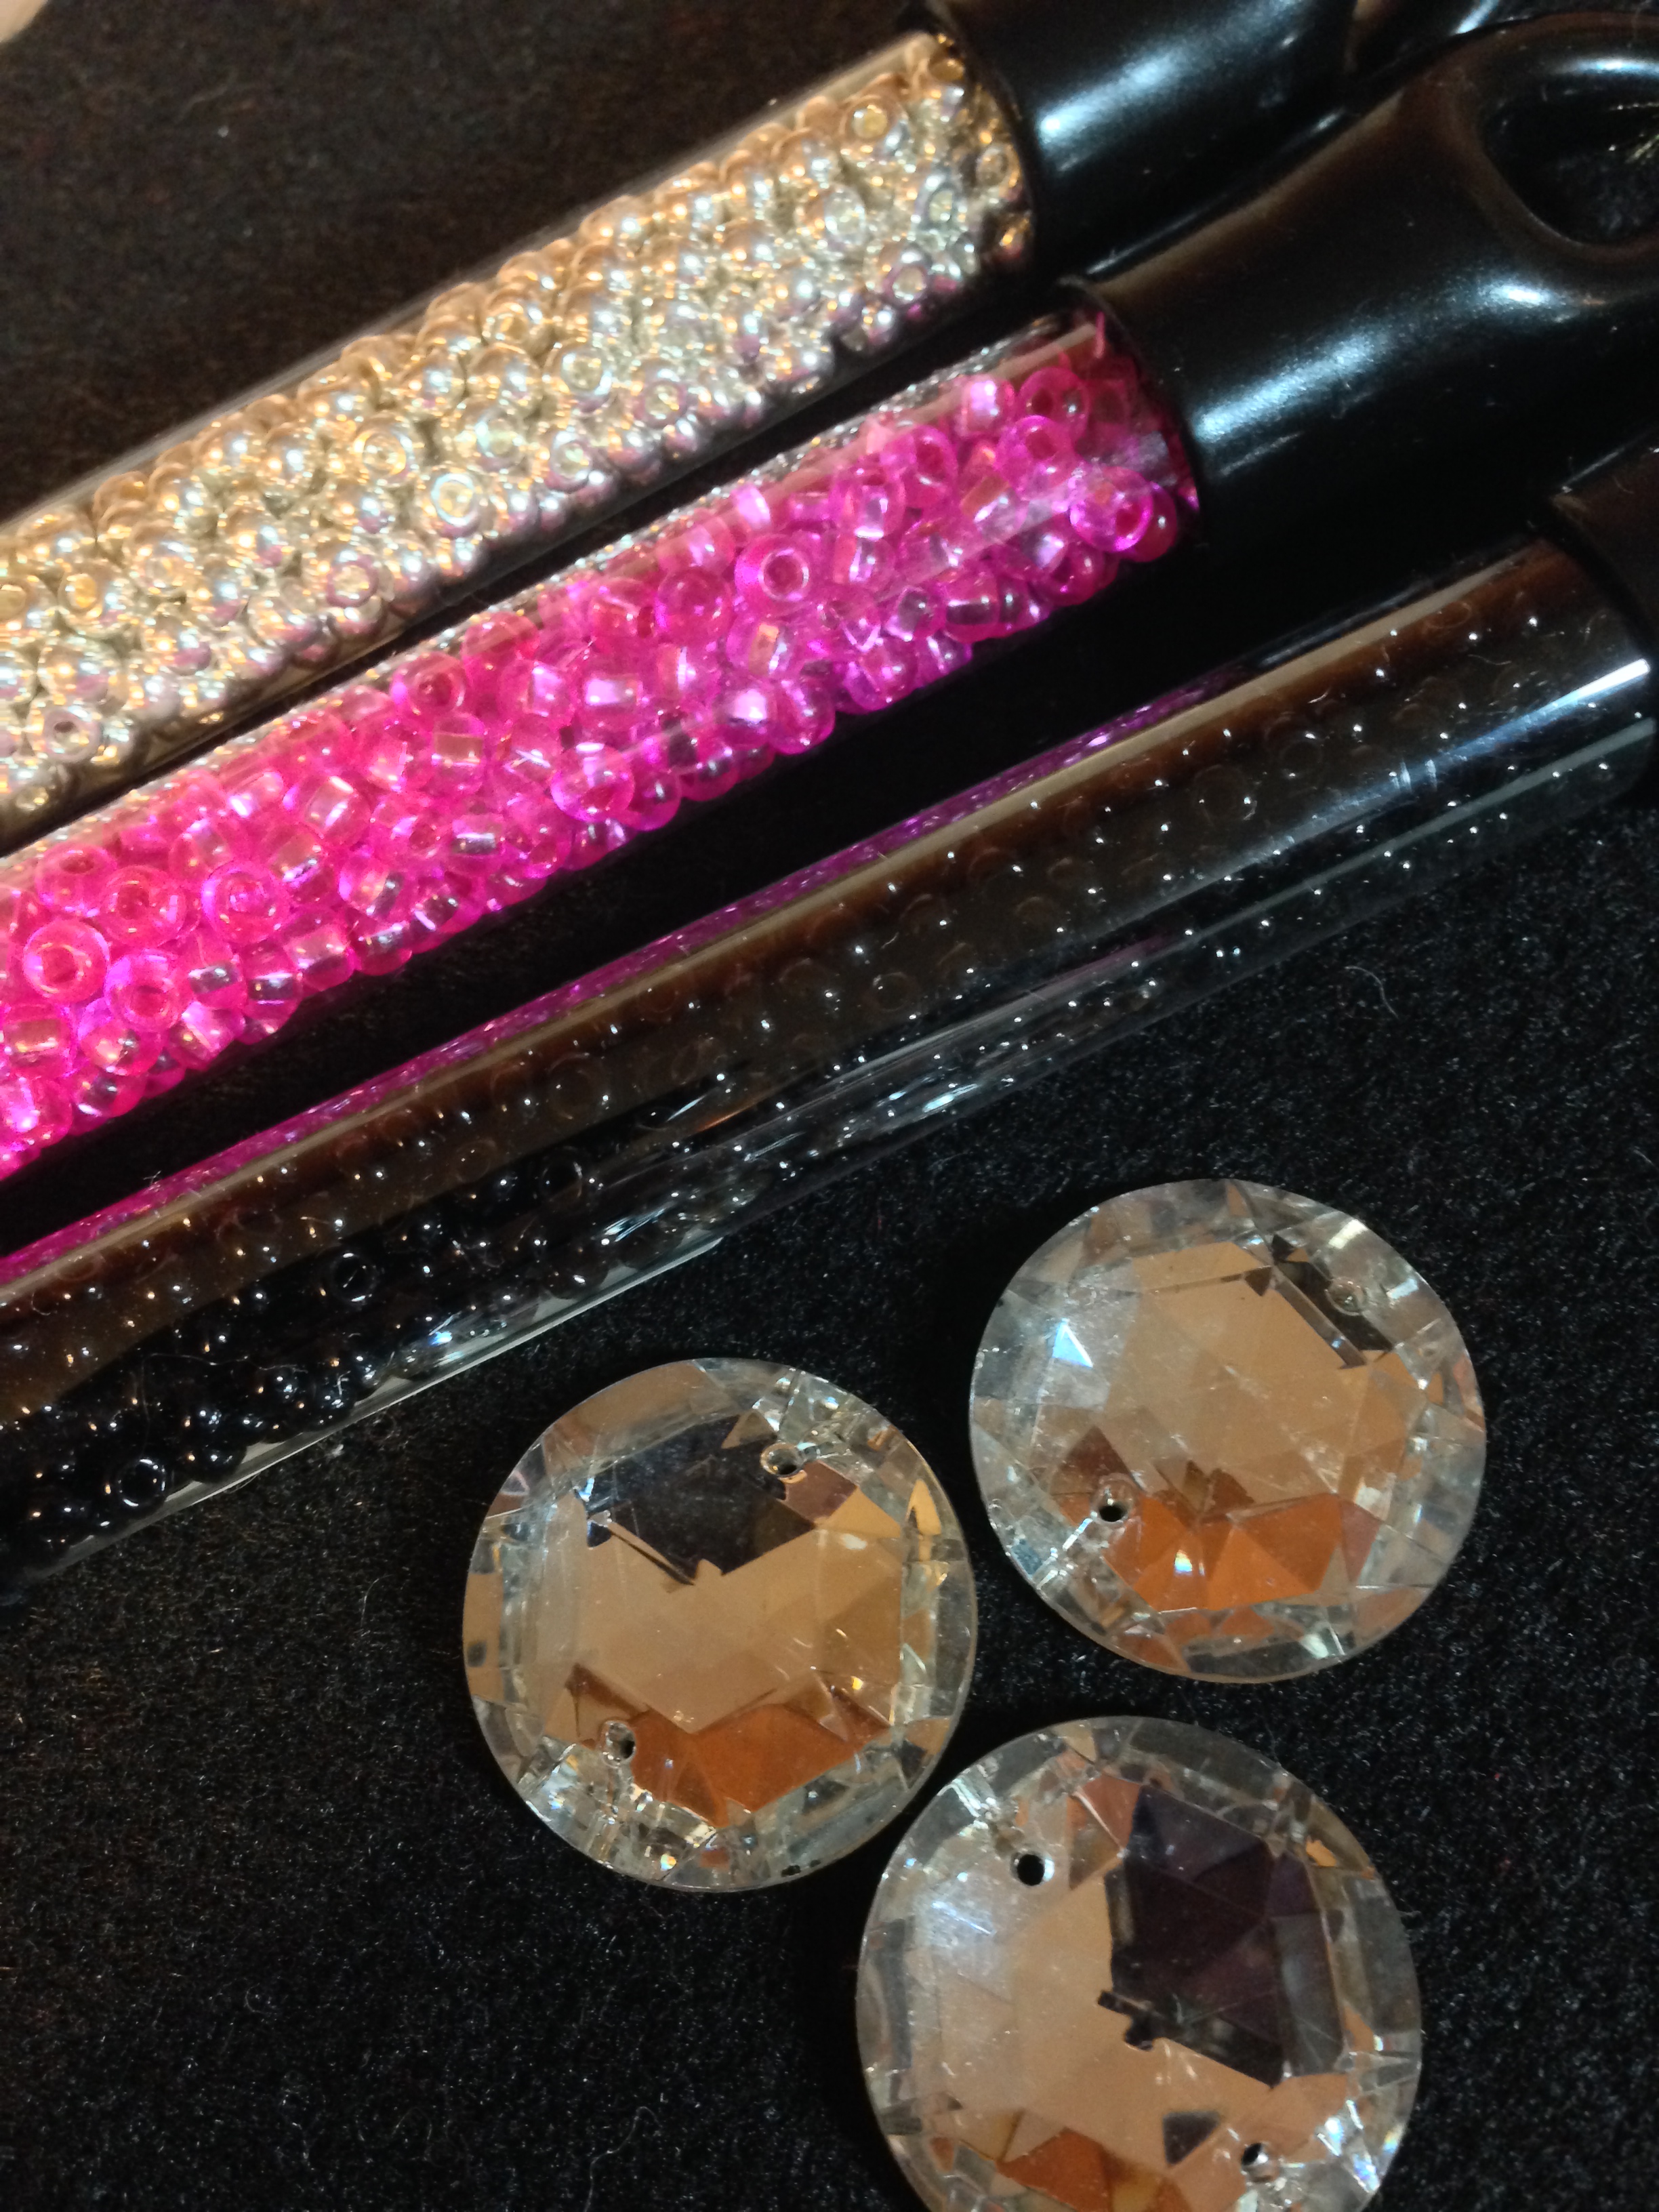
Bling to be added
For those of you who saw the show and said to yourself “where the heck did THAT come from ?!” I needed a special song for this costume vision and it came to me one day when I was driving with my husband. He hooked his iPhone up to the stereo and the first song on the shuffle was Britney Spears’ Work Bitch. I knew instantly that was the song and upon arriving at home I watched the video several times for inspiration. In the video there is a scene where she is whipping people and I remembered seeing a video for an LED whip. I consulted with Bender !Flames!, who is a flow artist as well as an amazing boylesque artist, and he directed me to a web site where he got some of his LED supplies. They are not cheap so you better believe this act will see the stage again and again. It was pretty boss if I do say so myself.

Pretty lights make everything better!
I hope that helps you, my fellow costumers. I will post updated pics when I get everything fixed the way I want it.
Special thanks to Doug Klettke for taking pics during Queerfest – you rock!